Have you noticed dark spots on your wall or ceiling after a leak, storm, or plumbing problem? You may clean the area and think the problem is gone, only to see the mold return later.
This happens because visible mold is not always the whole problem. Moisture can get behind drywall, inside walls, above ceilings, or around insulation where mold can continue growing.
That is why mold removal from walls often requires more than simple surface cleaning. Professionals inspect the affected area, find the moisture source, contain the work area, and determine whether materials can be cleaned or need to be removed.
Here is how the professional process usually works.
Why Does Mold Grow on Walls and Ceilings?
Mold needs moisture and suitable conditions to grow. Walls and ceilings can become vulnerable after plumbing leaks, roof damage, flooding, condensation, or high indoor humidity.
For example, a leaking pipe can leave moisture trapped inside a wall. A damaged roof can allow water to enter a ceiling. Poor bathroom ventilation can also create repeated condensation.
Drywall and other porous materials can absorb water. Even when the surface looks dry, moisture may remain underneath.
Common causes include:
- Plumbing and roof leaks
- Flooding or storm damage
- High humidity and condensation
- HVAC problems
- Poor ventilation
- Water entering around windows
Finding the source of moisture is an important part of mold removal from walls. Otherwise, mold may return after cleaning.
Step 1: Inspect the Walls and Ceilings
Professionals begin with a detailed inspection rather than immediately removing the visible mold.
They look for discoloration, water stains, peeling paint, bubbling drywall, musty odors, and other signs of moisture. Nearby areas may also be checked because water can travel through walls and ceilings.
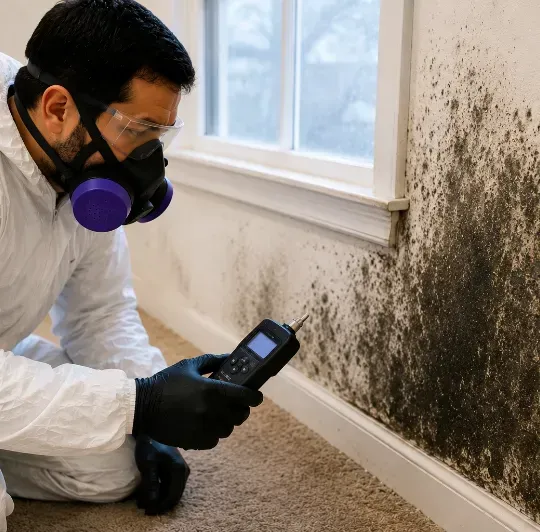
Moisture meters can help identify damp building materials that may not look wet. Other inspection tools may also be used when hidden moisture is suspected.
The purpose of this step is to determine whether the mold is only on the surface or has spread deeper into the building materials.
Step 2: Find the Moisture Source
Removing mold without fixing the moisture problem can lead to recurring growth.
Professionals look for the reason the area became damp. This could be a leaking pipe, damaged roof, plumbing issue, condensation, or water intrusion from outside.
For example, mold on a ceiling may be connected to a roof leak or plumbing problem from the floor above.
The moisture source needs to be corrected so the affected area can remain dry after cleanup.
Step 3: Determine How Far the Mold Has Spread
Visible mold does not always show the full extent of contamination.
Mold can grow behind drywall, above ceiling materials, around insulation, or inside wall cavities. Professionals consider visible growth, moisture readings, water damage, and the property's history when determining the affected area.
If drywall has remained wet for an extended period, it may have absorbed enough moisture to require removal. In other situations, the affected surface may be suitable for cleaning.
This assessment helps professionals choose the appropriate removal method without unnecessarily damaging unaffected materials.
Step 4: Set Up Containment
Before major cleaning or removal begins, professionals may establish containment around the affected area.
Containment helps prevent mold spores and contaminated dust from moving into clean parts of the property. This becomes particularly important when drywall, insulation, or ceiling materials need to be disturbed.
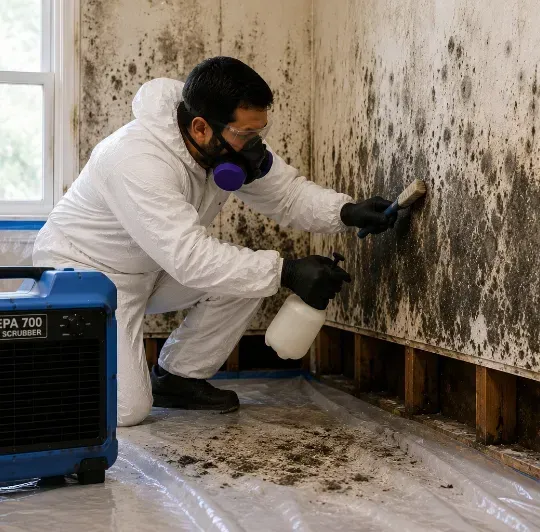
Depending on the project, professionals may use plastic barriers, sealed openings, negative air pressure, and HEPA air filtration.
The exact setup depends on the size and location of the contamination.
Proper containment is an important difference between a professional mold removal service and basic DIY cleaning.
Step 5: Remove Damaged Materials
Not every moldy wall or ceiling needs to be removed. The decision depends on the material, condition, moisture exposure, and extent of contamination.
Porous materials that are heavily contaminated or damaged by water may be difficult to restore. In those cases, professionals may carefully remove affected drywall, insulation, ceiling materials, or other components.
The removal needs to be performed carefully to reduce the spread of mold spores.
Materials that can be safely restored may not need to be removed. Professionals can determine the most appropriate approach after assessing the affected area.
Step 6: Clean Restorable Surfaces
Some surfaces can be cleaned instead of replaced.
Professionals choose cleaning methods based on the type of material and the level of contamination. HEPA-filtered equipment and specialized cleaning methods may be used to remove mold particles and debris.
A painted wall with limited surface contamination may require a different approach from a heavily contaminated porous material.
The goal is to remove the contamination while preserving materials that can be safely restored.
Painting over mold is not a proper replacement for remediation. If moisture or hidden contamination remains underneath, the mold can return.
Step 7: Use HEPA Air Filtration
Mold spores can become airborne when contaminated materials are disturbed.
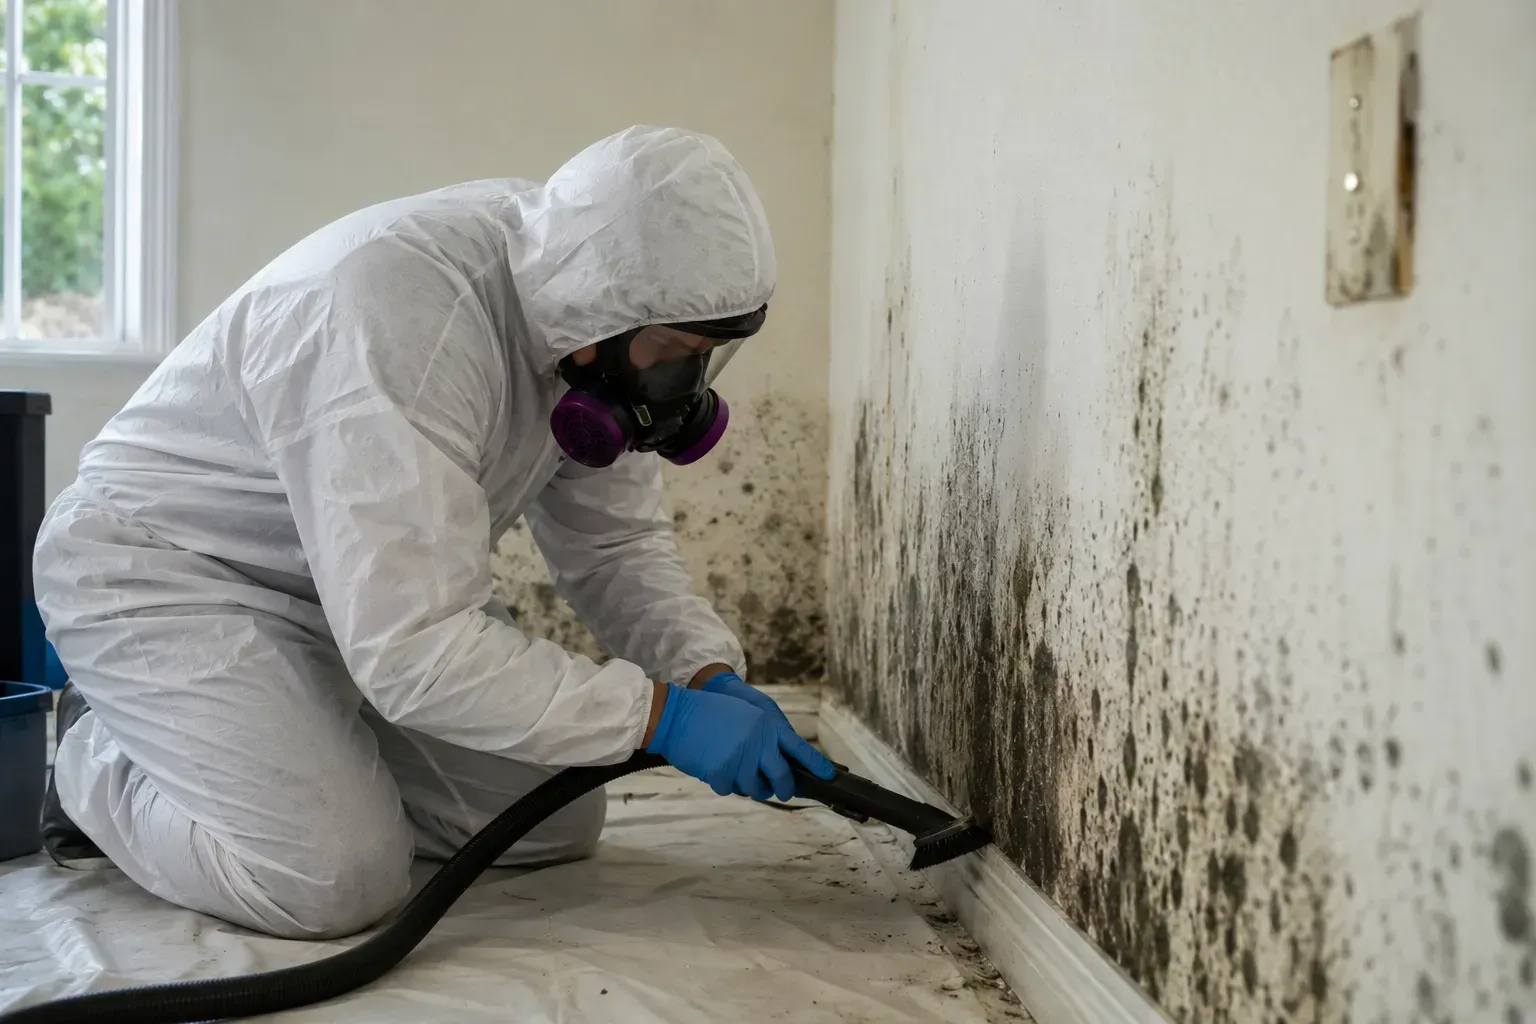
For this reason, professional teams may use HEPA air scrubbers and HEPA-filtered vacuums during the cleanup process. These systems help capture airborne particles and reduce the movement of contamination outside the work area.
The amount of filtration and containment required depends on the size and type of project.
Professionals can determine which equipment is appropriate based on the property's condition and the scope of the cleanup.
Step 8: Dry the Affected Area
After cleaning or removing contaminated materials, professionals focus on drying the affected area.
This is especially important when mold develops after flooding or a plumbing leak. Remaining moisture can create conditions for new mold growth.
Commercial air movers and dehumidifiers may be used to remove moisture from walls, ceilings, flooring, and other affected materials.
Professionals may also monitor moisture levels during the drying process. Drying time varies depending on the materials involved, the amount of water present, humidity, and airflow.
Removing visible mold without addressing moisture can leave the conditions needed for the problem to return.
Step 9: Clean the Work Area
Once the mold has been removed and affected materials have been cleaned or replaced, professionals clean the work area.
HEPA vacuuming and other appropriate cleaning methods may be used to remove remaining dust and particles.
The containment area is then handled according to the remediation plan.
This step helps ensure that debris created during the cleanup does not remain in the home. Professionals also review the affected area to make sure the planned work has been completed.
Step 10: Repair and Restore the Area
Mold removal may not be the final step.
If drywall, insulation, ceiling panels, trim, or other materials were removed, the affected area may need to be restored.
Depending on the project, restoration can include installing new drywall, replacing insulation, repairing trim, priming surfaces, and repainting.
Repairs should be completed after the moisture problem has been addressed and the affected area has been properly remediated.
This helps prevent new materials from being exposed to the same conditions that caused the original mold growth.
When Should You Hire Mold Removal Contractors?
Not every small mold spot requires a large remediation project. However, certain situations are better handled by professionals.
Consider contacting mold removal contractors if mold keeps returning after cleaning, covers a large area, appears after significant water damage, produces a persistent musty odor, or may be growing behind walls or above ceilings.
Professional assistance is also helpful when you cannot determine where the moisture is coming from.
Trying to open walls or ceilings yourself can disturb hidden mold and release spores into the air. Professionals have specialized equipment and procedures for handling these situations.
Why Choose Mold Removal Services in Houston?
Houston properties can experience conditions that contribute to mold growth, including humidity, heavy rain, storms, roof leaks, plumbing problems, and air-conditioning issues.
Moisture can become trapped inside walls and ceilings without being immediately visible. This means a small-looking problem can sometimes involve a larger hidden moisture issue.
Experienced mold removal services in Houston can inspect the affected area, identify moisture problems, establish containment when needed, and determine whether materials should be cleaned or removed.
Professional help can be especially useful when mold is hidden or when water damage has affected multiple areas of the property.
Professional Mold Removal vs. DIY Cleanup
DIY cleaning may seem like the easiest option when you first notice mold. However, surface cleaning does not always address hidden contamination or the source of moisture.
Scrubbing, cutting, or disturbing a moldy wall without proper containment can release spores into the air and potentially spread contamination.
A professional mold removal service takes a more complete approach. Professionals investigate the source, assess the affected area, control the work environment, and use appropriate removal and cleaning methods.
For larger, recurring, or hidden mold problems, professional assistance can provide a more thorough solution.
How Long Does Mold Removal From Walls Take?
The time required for mold removal from walls depends on the size of the affected area, the amount of moisture present, the type of building materials involved, and whether damaged materials need to be removed.
A small isolated area may be addressed quickly. More extensive mold involving several walls, ceilings, or water-damaged materials can take several days or longer.
Drying and restoration may add additional time.
A professional inspection is the best way to get a realistic timeline because the contractor can assess the actual condition of the property before recommending the work.
Conclusion
For Texas homeowners, understanding TDLR requirements is also important. Some mold projects are regulated while specific exemptions apply, so the rules should be evaluated based on the property and the size and nature of the project.
Choosing qualified mold remediation services can make the process easier to understand and help ensure the work is handled properly from beginning to end.
If you’ve discovered mold in your Texas home, don’t wait for the problem to spread. Get in touch today to discuss your concerns and learn how professional mold remediation services can help you determine the right next step for your property.
Frequently Asked Questions
1. Can mold grow behind walls and ceilings?
Yes. Mold can grow behind drywall, above ceilings, around insulation, and inside wall cavities when moisture becomes trapped. Visible mold may not show the full extent of the problem, which is why professionals inspect for hidden moisture and contamination.
2. How do professionals remove mold from walls?
Professionals typically inspect the affected area, identify the moisture source, establish containment when needed, remove heavily contaminated materials, clean restorable surfaces, use appropriate filtration, and dry the area to help prevent mold from returning.
3. Does moldy drywall always need to be replaced?
No. Whether drywall needs replacement depends on the material's condition, moisture exposure, and extent of contamination. Some surfaces can be cleaned and restored, while heavily contaminated or water-damaged porous materials may need to be removed.
4. Can I just paint over mold on a wall?
No. Painting over mold does not address the underlying contamination or moisture problem. Mold may continue growing underneath the paint and return. The affected area should be properly assessed, cleaned or removed as appropriate, and dried before repainting.
5. How long does mold removal from walls take?
The timeline varies based on the size of the affected area, moisture levels, materials involved, and whether damaged materials require removal. Small areas may take less time, while extensive mold and water damage can require several days or longer.
Best Option Restoration