Have you discovered mold growing in your home after a leak, flood, or long period of high humidity? Many homeowners try to clean it themselves, hoping the problem will disappear. While surface cleaning may remove visible mold, it often doesn't address the hidden contamination or the moisture that caused it in the first place.
That's why understanding professional mold removal is so important. Professional removal goes beyond wiping away mold stains. It follows a structured process designed to locate hidden mold, contain affected areas, remove contamination safely, and restore your property. Knowing what happens during the process can help you make informed decisions and avoid costly problems later.
In this guide, we'll explain each stage of professional mold removal, why it matters, and how experienced mold removal contractors help protect your property and indoor air quality.
Why Professional Mold Removal Is Important
Mold spreads quickly when moisture is left untreated. It can grow behind drywall, beneath flooring, inside insulation, and even within HVAC systems, making it difficult to remove without professional equipment.
Many homeowners believe that household cleaners or bleach will solve the issue. While these products may improve the appearance of mold on hard surfaces, they rarely remove hidden mold or eliminate the moisture source. As a result, mold often returns within a short time.
Choosing professional mold removal helps ensure the problem is addressed properly. Professionals inspect the entire property, identify hidden contamination, and follow safe removal procedures that reduce the risk of mold spreading to other areas.
Step 1: Complete Property Inspection
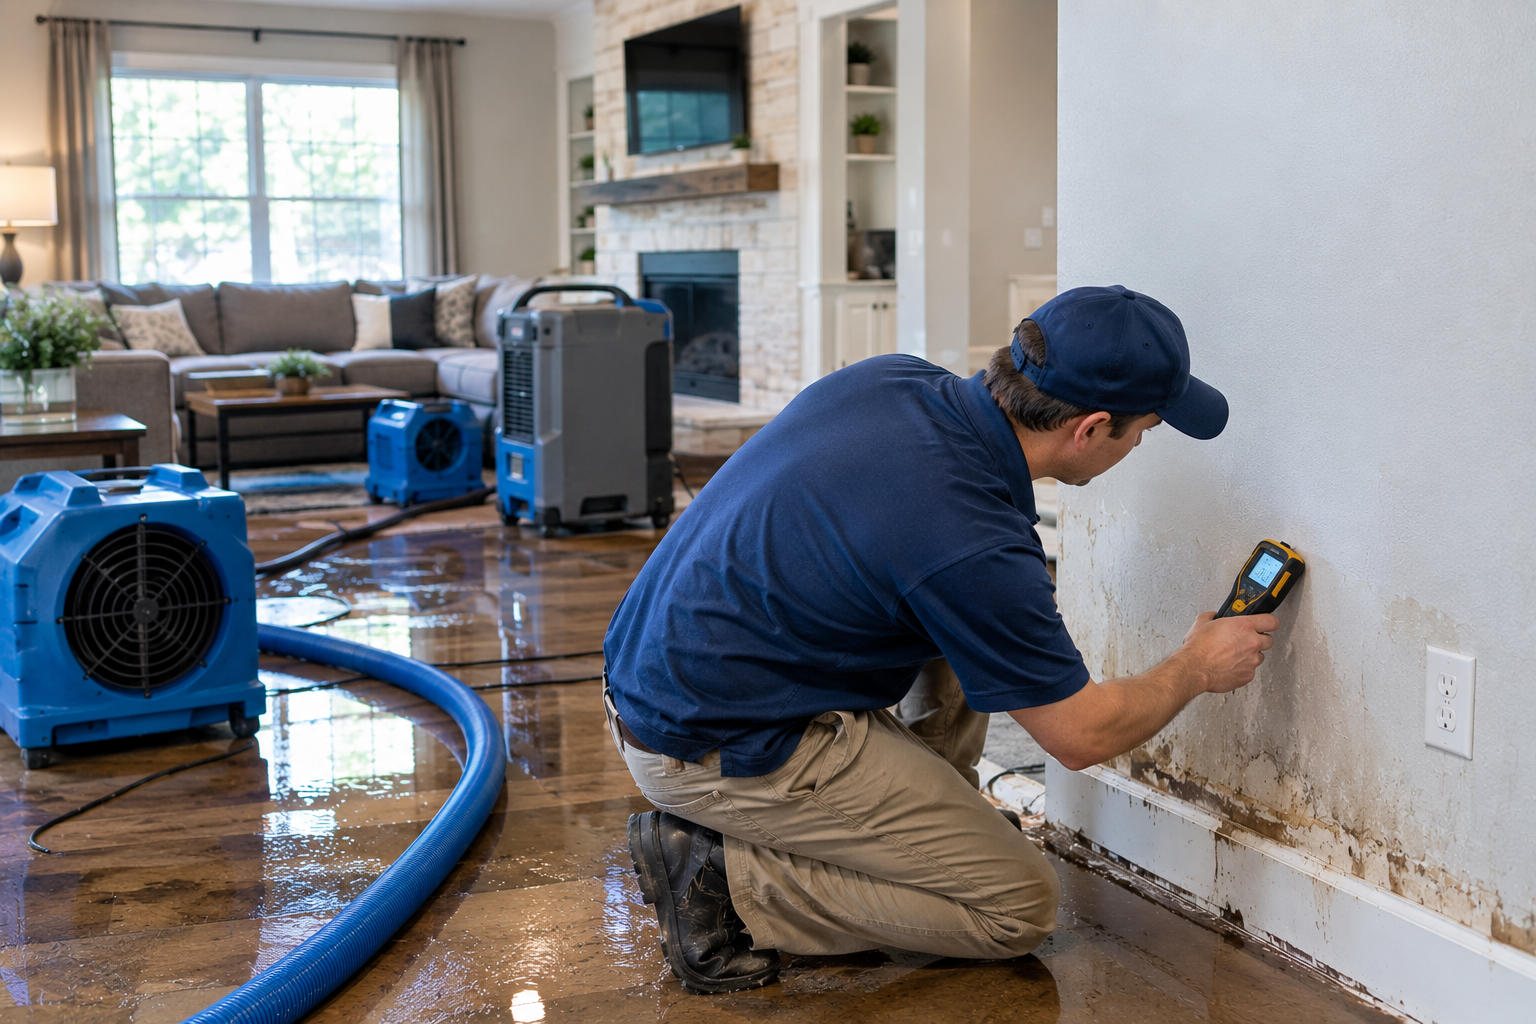
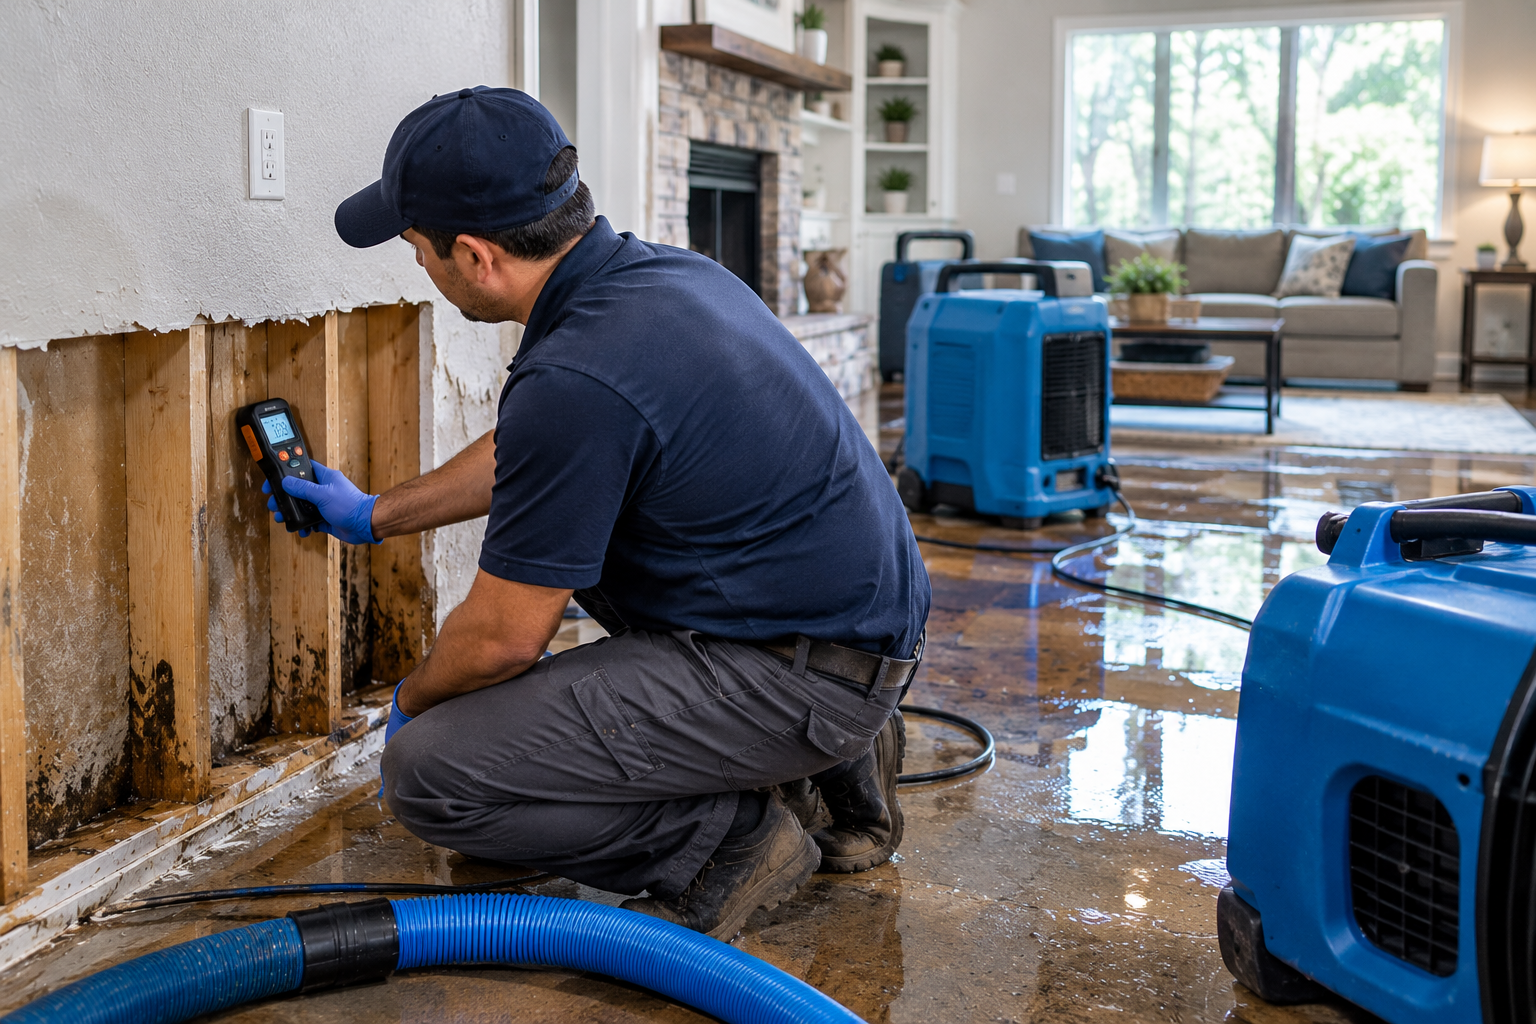
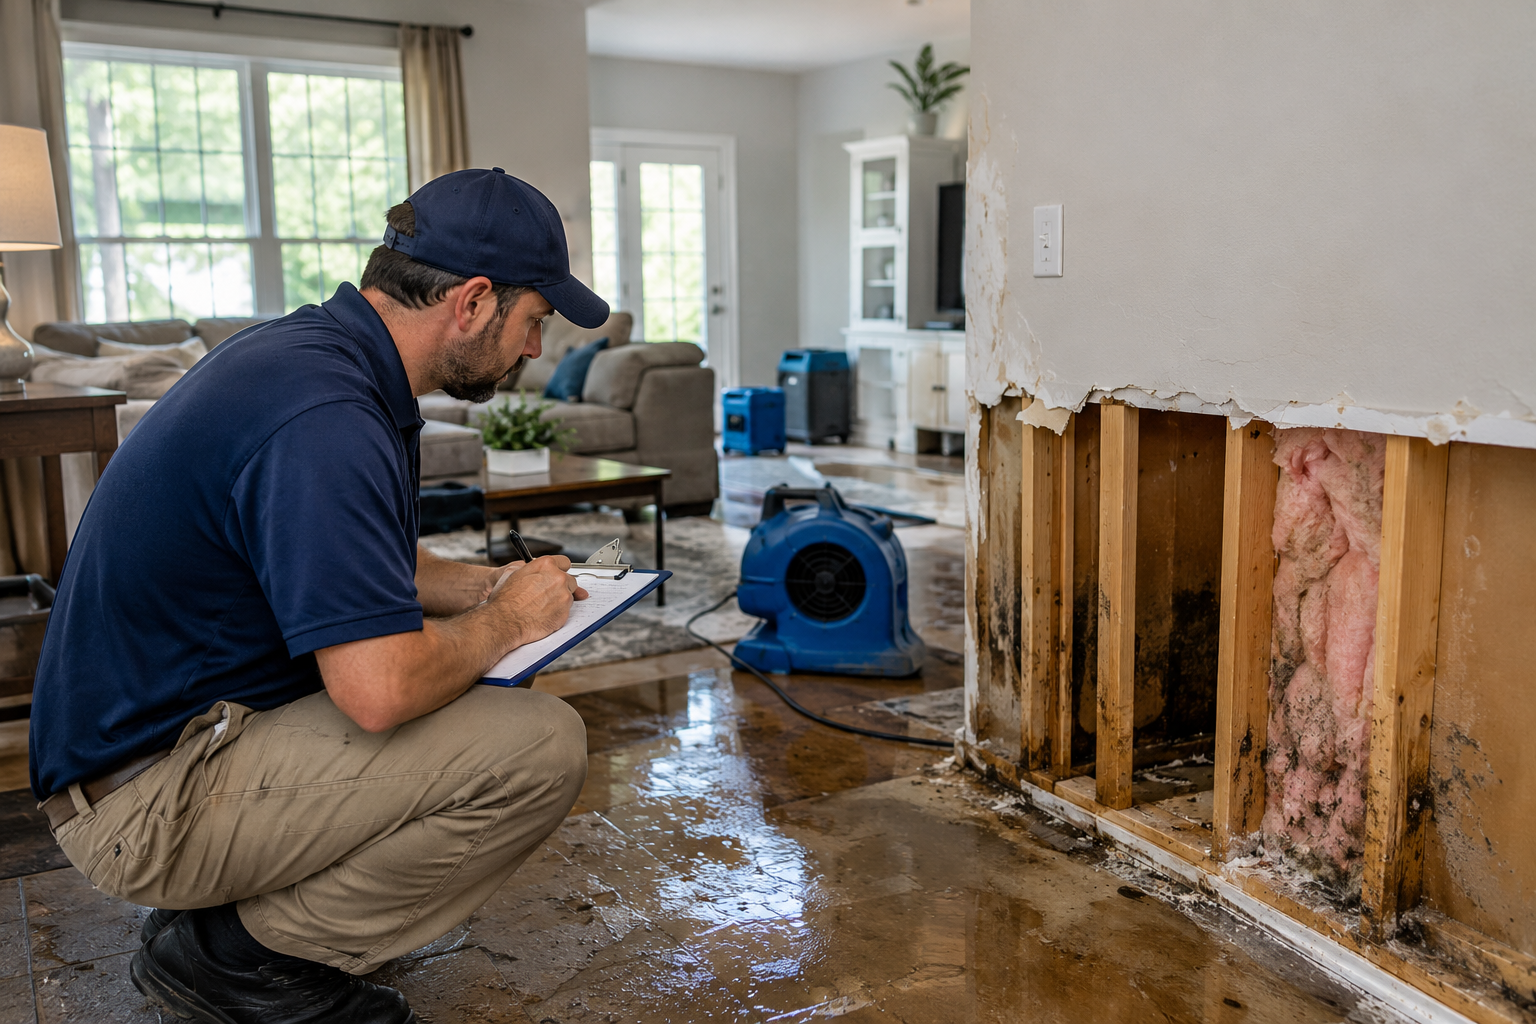
Every successful mold removal project begins with a thorough inspection. Before any work starts, technicians evaluate the affected areas to determine how much mold is present and identify the source of moisture.
Since mold often grows in hidden spaces, professionals use moisture meters, thermal imaging cameras, and other specialized tools to locate damp areas behind walls, beneath flooring, and inside ceilings. These tools help uncover mold that may not be visible during a standard inspection.
The information gathered during the inspection allows the team to develop the most effective removal plan while minimizing unnecessary damage to the property.
Step 2: Identifying the Moisture Source
Removing mold without fixing the moisture problem usually leads to the same issue returning. That's why finding the source of water is one of the most important parts of professional mold removal.
Moisture may come from leaking pipes, roof damage, poor drainage, appliance failures, flooding, or high indoor humidity. Technicians carefully inspect the property to determine where water is entering or collecting.
Once the moisture issue has been identified, repairs can be made before the removal process continues. Correcting the source helps create an environment where mold is far less likely to grow again.
Step 3: Containing the Affected Area
Before mold is removed, professionals isolate the contaminated area to prevent mold spores from spreading throughout the property. During removal, microscopic spores can easily become airborne if proper containment isn't used.
Temporary plastic barriers, sealed openings, and negative air pressure systems help keep contamination inside the work area. At the same time, HEPA air scrubbers continuously filter the air to capture mold spores released during cleanup.
Containment is an important safety measure because it protects unaffected rooms and allows technicians to complete the removal process without spreading contamination.
Step 4: Safe Mold Removal
After containment has been established, technicians begin removing mold using methods appropriate for the affected materials. The exact approach depends on the severity of the contamination and whether the materials can be cleaned or need replacement.
Some hard, non-porous surfaces can be restored through specialized cleaning techniques, while damaged drywall, insulation, carpeting, or ceiling tiles often need to be removed completely. Every step is performed carefully to reduce airborne spores and protect the surrounding areas.
Experienced mold removal contractors follow industry standards and use protective equipment to complete the removal safely and efficiently.
Step 5: Cleaning and Air Filtration
Even after visible mold has been removed, microscopic spores may remain on nearby surfaces or in the air. That's why cleaning is a critical part of the process.
Professionals use HEPA vacuums, antimicrobial treatments, and specialized cleaning products to remove remaining contamination from structural materials and surrounding surfaces. Air scrubbers continue filtering the indoor air throughout the cleanup to improve overall air quality.
This thorough cleaning process helps reduce the risk of mold returning while preparing the property for restoration.
Step 6: Drying the Property
Moisture left behind after mold removal can lead to future mold growth. To prevent this, professionals use commercial air movers and dehumidifiers to dry the affected areas completely.
Moisture levels are monitored throughout the drying process to ensure walls, flooring, and other building materials have reached acceptable levels before repairs begin. Drying may take several days depending on the amount of water damage and the materials involved.
Completing this step properly helps make the results of professional mold removal more effective and long-lasting.
Step 7: Restoring the Property
The final stage focuses on repairing or replacing materials removed during remediation. Depending on the extent of the damage, restoration may include installing new drywall, insulation, flooring, trim, or repainting affected areas.
The goal is to return the property to its original condition while ensuring the moisture problem has been fully resolved. Once restoration is complete, homeowners can move forward with confidence knowing the mold issue has been handled correctly.
Professional restoration also helps improve the appearance and functionality of the affected areas.
Why Hiring Mold Removal Contractors Is Worth It
Choosing experienced mold removal contractors offers several advantages over attempting mold removal yourself. Professionals have the knowledge, equipment, and training needed to identify hidden mold, contain contamination, and remove affected materials safely.
They also understand how moisture affects different building materials and follow proven methods to reduce the chance of mold returning. Their experience helps avoid common mistakes that can make mold problems worse or spread contamination throughout the property.
Hiring professionals often saves homeowners time, protects property value, and provides peace of mind that the job has been completed correctly.
When Should You Schedule Professional Mold Removal?
Not every mold problem requires the same solution, but some warning signs should never be ignored. You should consider scheduling professional mold removal if:
- Mold continues returning after cleaning.
- Your home has experienced flooding or water damage.
- You notice a persistent musty odor.
- Visible mold continues spreading.
- Allergy symptoms become worse indoors.
- You suspect mold behind walls or under flooring.
Addressing mold early often prevents larger repairs and reduces the overall cost of restoration.
Conclusion
Understanding the professional mold removal process helps homeowners know what to expect when mold is discovered. From the initial inspection to the final restoration, each step is designed to remove mold safely, correct moisture problems, and reduce the risk of future growth.
Trying to remove mold without proper equipment may only solve part of the problem. Working with experienced mold removal contractors ensures hidden contamination is addressed and your property is restored as safely and efficiently as possible.
If you've noticed signs of mold or recent water damage, you can connect through our contact page to schedule a professional inspection and learn how our mold remediation experts can help restore your property safely.
Frequently Asked Questions
1. What does professional mold removal include?
Professional mold removal includes inspecting the property, identifying the moisture source, containing affected areas, removing mold safely, cleaning contaminated surfaces, drying the property, and restoring damaged materials. The goal is to eliminate mold while helping prevent it from returning.
2. When should I hire mold removal contractors?
You should contact mold removal contractors if mold keeps returning after cleaning, your property has experienced water damage, you notice a persistent musty odor, or mold has spread to multiple areas. Professional removal helps address hidden contamination and reduces the risk of future mold growth.
3. How long does professional mold removal take?
The time required for professional mold removal depends on the size of the affected area, the amount of mold growth, and any water damage involved. Smaller projects may take one to two days, while larger remediation and restoration jobs can take several days to complete.
4. Can I remove mold myself instead of hiring professionals?
Small mold spots on hard, non-porous surfaces may be cleaned if the moisture source has been fixed. However, larger or hidden mold problems often require professional mold removal because improper cleaning can spread mold spores and leave contamination behind.
5. Why is hiring mold removal contractors better than DIY mold removal?
Experienced mold removal contractors use specialized equipment to locate hidden mold, contain affected areas, improve indoor air quality, and safely remove contaminated materials. Their professional approach addresses both the mold and the moisture source, providing a more effective and long-lasting solution than DIY cleaning.
Best Option Restoration